Round and round the cobbler's bench
Round and round the cobbler's bench
The monkey chased the weasel,
The monkey thought 'twas all in fun
Pop! Goes the weasel.
A penny for a spool of thread
A penny for a needle,
That's the way the money goes,
Pop! Goes the weasel.
A half a pound of tupenny rice,
A half a pound of treacle.
Mix it up and make it nice,
Pop! Goes the weasel.
Up and down the London road,
In and out of the Eagle,
That's the way the money goes,
Pop! Goes the weasel.
I've no time to plead and pine,
I've no time to wheedle,
Kiss me quick and then I'm gone
Pop! Goes the weasel.
So what does this have to do with quilting? Absolutely nothing! However, I wanted to have a title with the word "Round" in it, because I'm going to write about Round Robin quilts. I was also going to title this "Round and round the MULBERRY BUSH", because that's how I always heard the song sung when I was a kid. I was surprised to learn it was the cobbler's bench instead, and there were more than just one verse. So, I present this for your edification.
Anyway, back to round robin quilts. This is the first in a series of articles about a round robin quilt project I was involved with my friends Marcia, Ken, and Cindy, plus my two Godchildren Emerald and Azureen. Each person was going to do a block, and then pass it to the next person to add a border, with the orignal block creator ending up with the quilt for finishing. Here were the rules:
- The orignal block was to be no more than 18" finished. 18" was picked because Marcia just happened to have an 18" Hawaiian applique block she wanted to use...what the heck, we're easy!
- After the initial block, each person would add a border with a maximum width of 6". If the inner borders did not use the entire 6", you could use up that shortfall up to a maximum size of 8".
- The round robin order was me->Marcia->Emerald->Cindy->Ken->Azureen.
- Each person had 6 weeks to work on each step before passing it along....where were a tad flexible on the 6 week deadline :-)
- The original block creator got the finished quilt and responsible for finishing it however he/she saw fit. Adding a final border was fair game too.
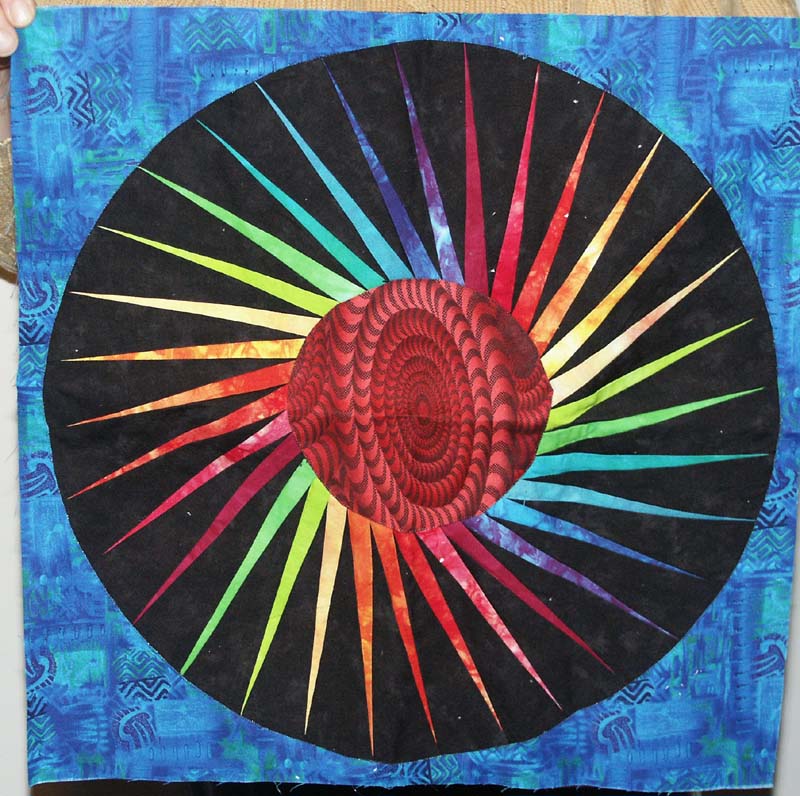
I had a paper piecing pattern I'd been wanting to try, as well as a nice new rainbow gradient hand dye fabric assortment just looking for a project. The pattern was Spiraling Rays by Carol Bryer Fallert. And here was my resulting block.
This is definitely one of those "it's a lot harder than it looks project". The paper piecing made it pretty easy. The only tough parts were sewing the inner circle (which I picked because it made me thing of an eye) and the outer circle. This particular pattern handled the curves by turning the edges of the convex part under, then sewing along the edge with transparent thread and a zig-zag stitch. This took me an afternoon to finish.
After send it along to Marcia, I got a request from her for any extra of the outer blue fabric I'd sent her.
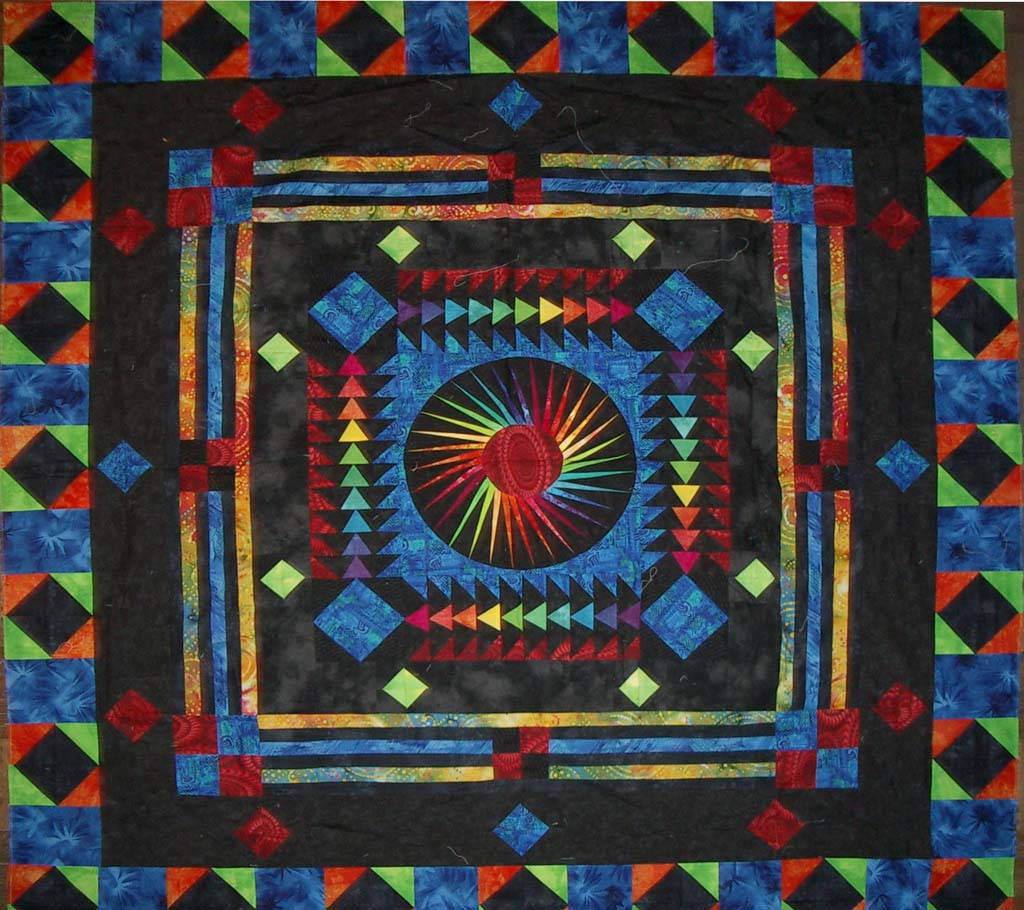
Here is the finished quilt I got back. My friends definitely understand my liking of bright colors on a dark background! This is definitely a quilt that needs to be seen in person rather than a photo. In real life, the fabrics positively glow!
One neat feature I'd like to point out is the outer-most border. This was sewn by my Godchild Azureen, and uses a technique she learned from Anne Gallo during a quilt weekend at the Henry Farm Inn. The squares are made from a pair of 3D flying geese. The outer triangles are folded rather than pieced along that edge, giving each one a little pocket and dimensional effect. I have not quilted this yet, but it is definitely at the top of the UFO list. This will get finished once I complete Emerald's high school graduation (!) quilt.
Next up, border #1 for Azureen's block.
posted by Rick McGuire @ 6:37 PM
0 comments
![]()
![]()


0 Comments:
Post a Comment
<< Home